Bumper repair vs replacement usually comes down to the type of damage, the condition behind the painted cover, and whether the part can be restored to a secure fit. Scuffs, shallow dents, and some localized cracks can often be repaired. Torn mounting tabs, severe distortion, crushed internal pieces, or damage around sensors may make replacement the better choice.
The outside does not always show the full problem. A plastic cover can flex during a low-speed collision and move back toward its original shape while brackets, fasteners, an absorber, or wiring behind it remain damaged. That is why a shop may need to remove the cover before making a firm recommendation.
Cost matters, but the cheapest first option is not always the least expensive over time. A repair that cannot hold its shape or support the correct sensor position may need to be redone. Replacing a repairable cover can also add unnecessary parts and labor.
For Omaha drivers, a hands-on inspection gives the clearest answer. The technician should explain what is cosmetic, what affects fit or function, and which work is supported by the vehicle manufacturer's procedures.
What a Bumper Cover Can Hide
What most people call the bumper is usually the painted plastic bumper cover. It shapes the front or rear of the car and protects the components behind it from weather and road debris. Depending on the vehicle, the system may also include an energy absorber, a reinforcement bar, brackets, retainers, wiring, lights, parking sensors, radar equipment, or other driver-assistance hardware.
The cover is flexible, so visible bumper damage can be misleading. It may spring back after impact even when the absorber has compressed or a bracket has moved. A small gap near a fender, lamp, hood, or liftgate can point to broken clips or shifted mounting points.
Front and rear systems are not identical. A rear bumper may contain parking sensors, blind-spot equipment, exhaust trim, or wiring near the impact area. A front unit may sit near cooling parts, fog lights, a grille, radar hardware, or air ducts. The exact layout depends on the year, make, model, and trim level.
An auto body technician may start with a visual check, panel-gap review, scan, and sensor-function check. If the impact suggests deeper concerns, the shop can remove the cover and inspect the absorber, reinforcement, brackets, fasteners, wiring, and nearby body panels.
This closer look also helps separate collision damage from old scratches or prior repairs. Clear documentation matters when insurance is involved, since the estimate should connect each part and operation to the covered loss.
When Plastic Bumper Repair Makes Sense
Repairing a plastic bumper rather than having it replaced can be the practical route when the problem is limited to the outer cover. Repair is best when the material can be reshaped or bonded, the mounting points remain sound, and the finished part can sit securely with the correct panel gaps.
Common repair methods include controlled reshaping, plastic welding or approved adhesives, sanding, surface preparation, and refinishing. The method depends on the plastic type, the size and location of the damaged area, and the manufacturer's repair guidance. A shop should not use one technique for every cover.
Small dents and shallow distortion may respond well when the plastic has not stretched too far. Scuffs, paint transfer, and light gouges may need surface work and paint. A short crack can sometimes be repaired when it is away from a mounting tab, sensor opening, edge, or heavily loaded area.
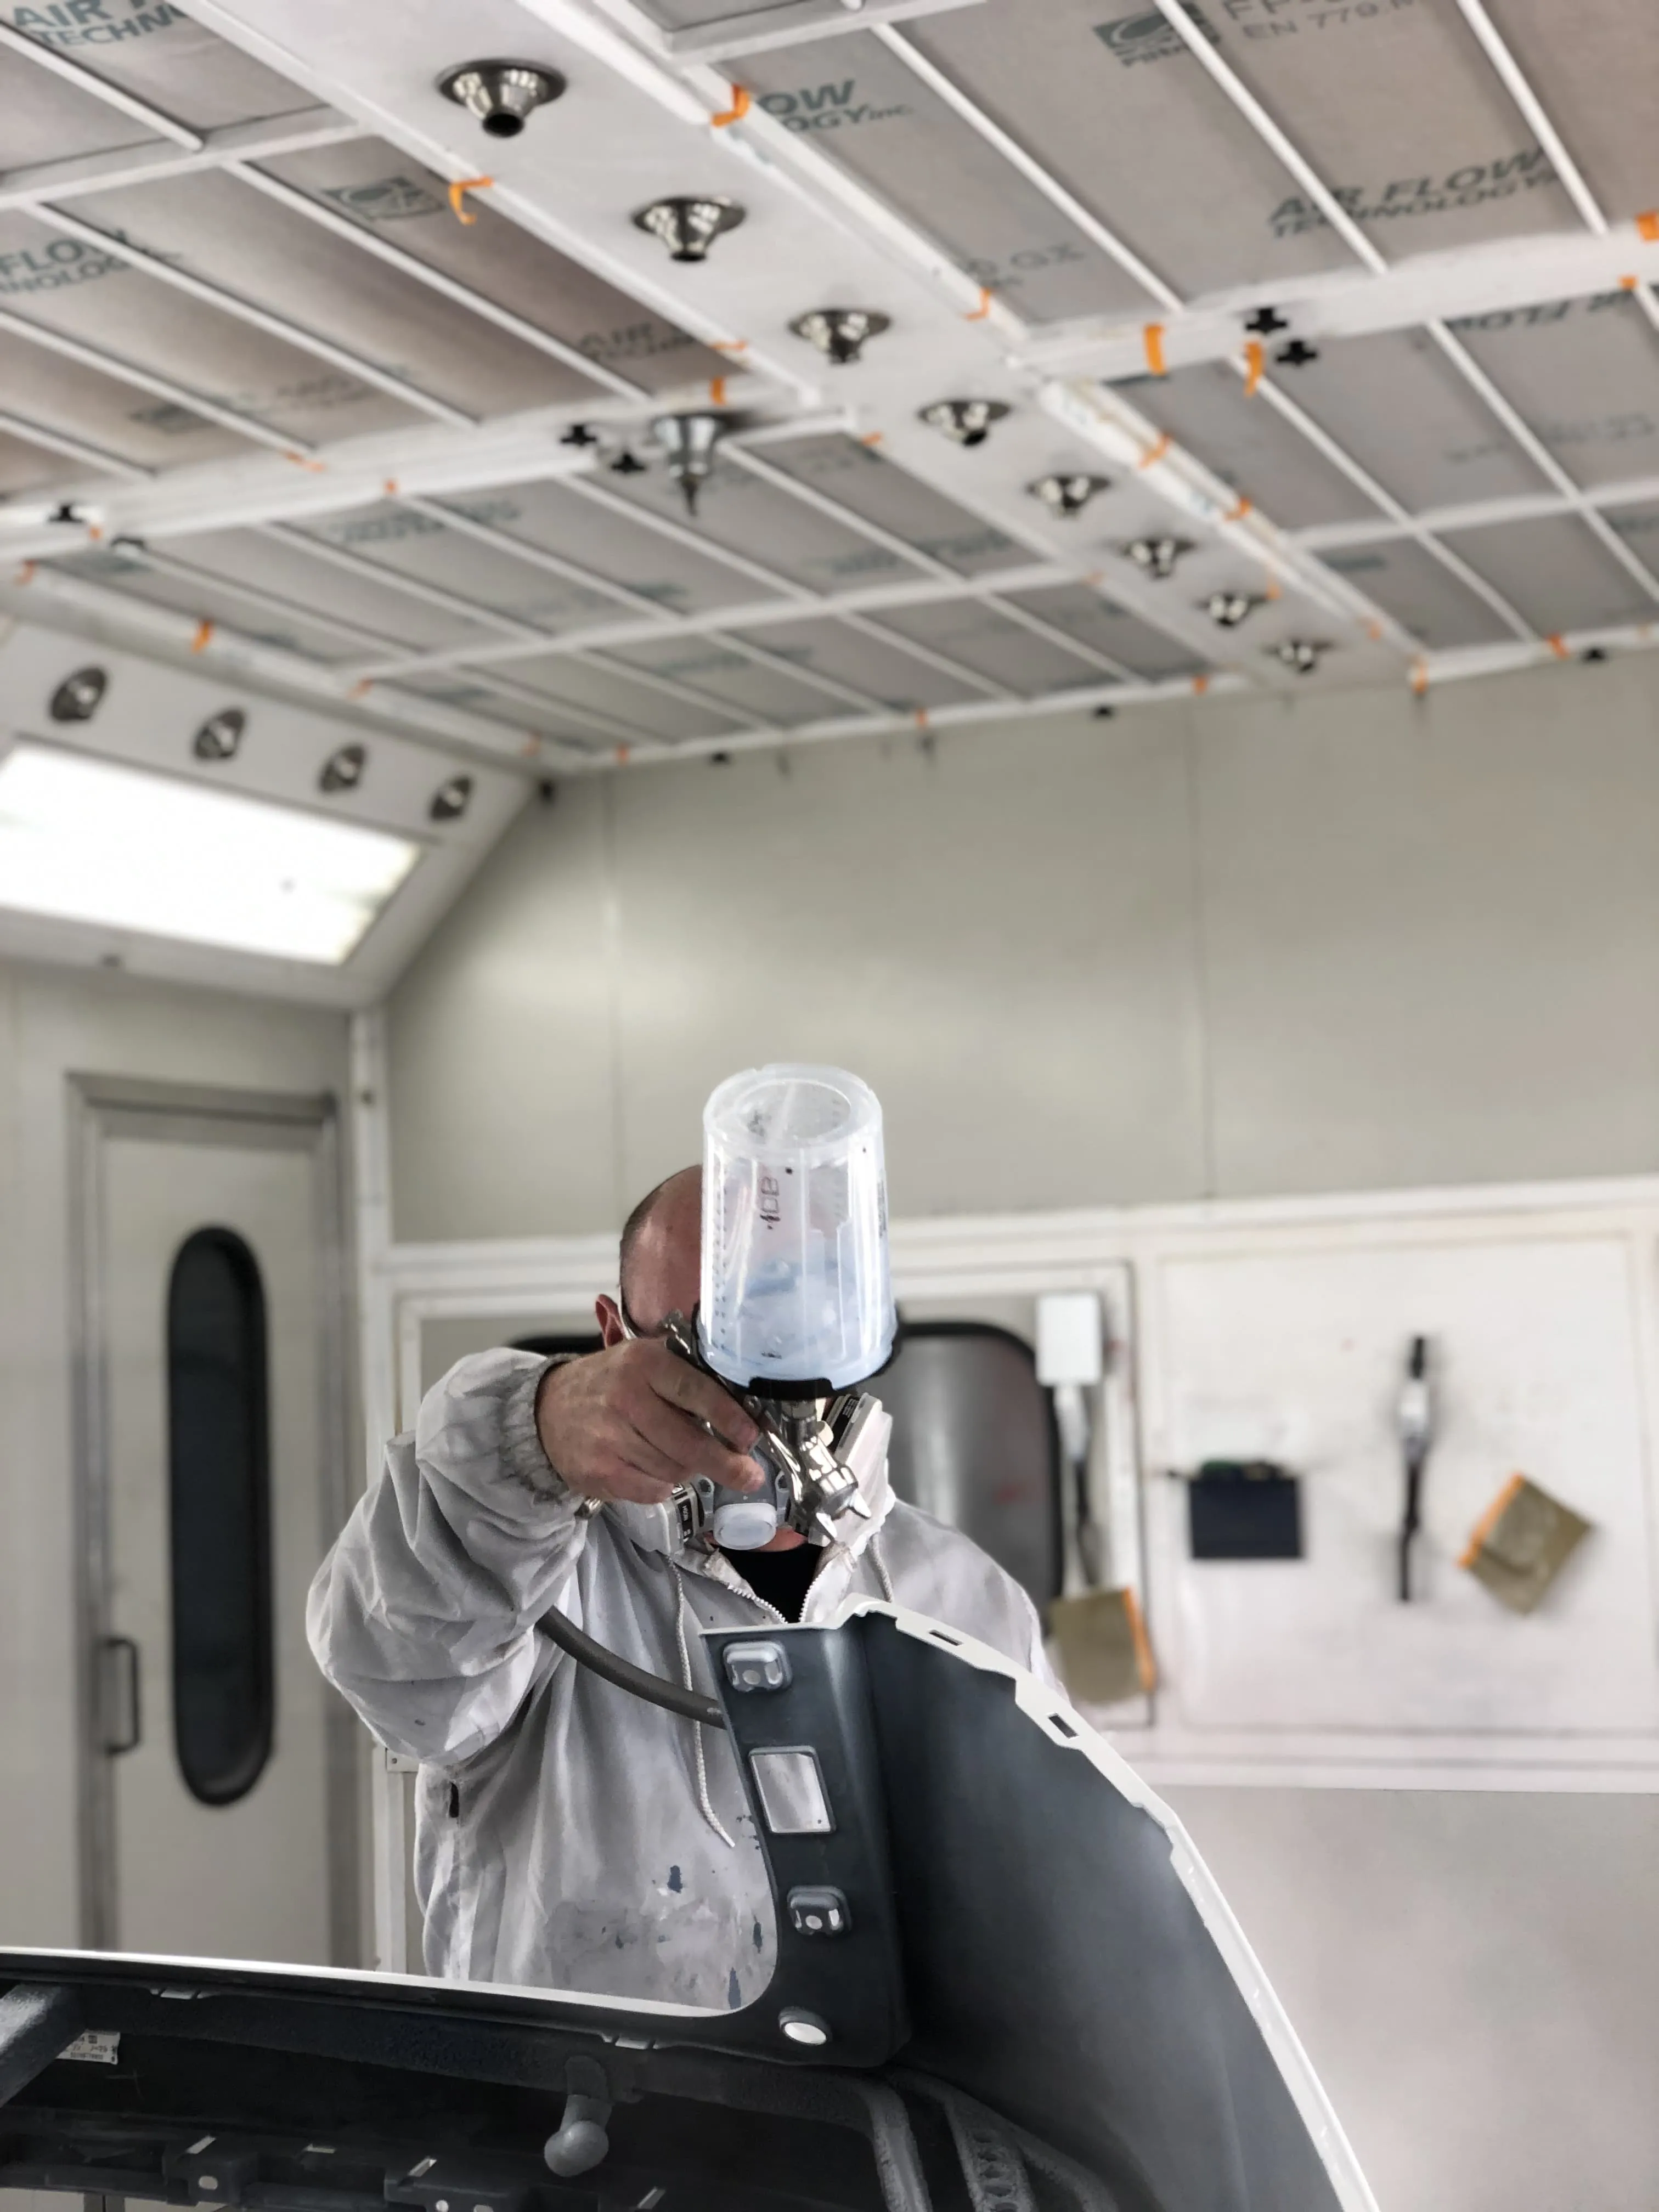
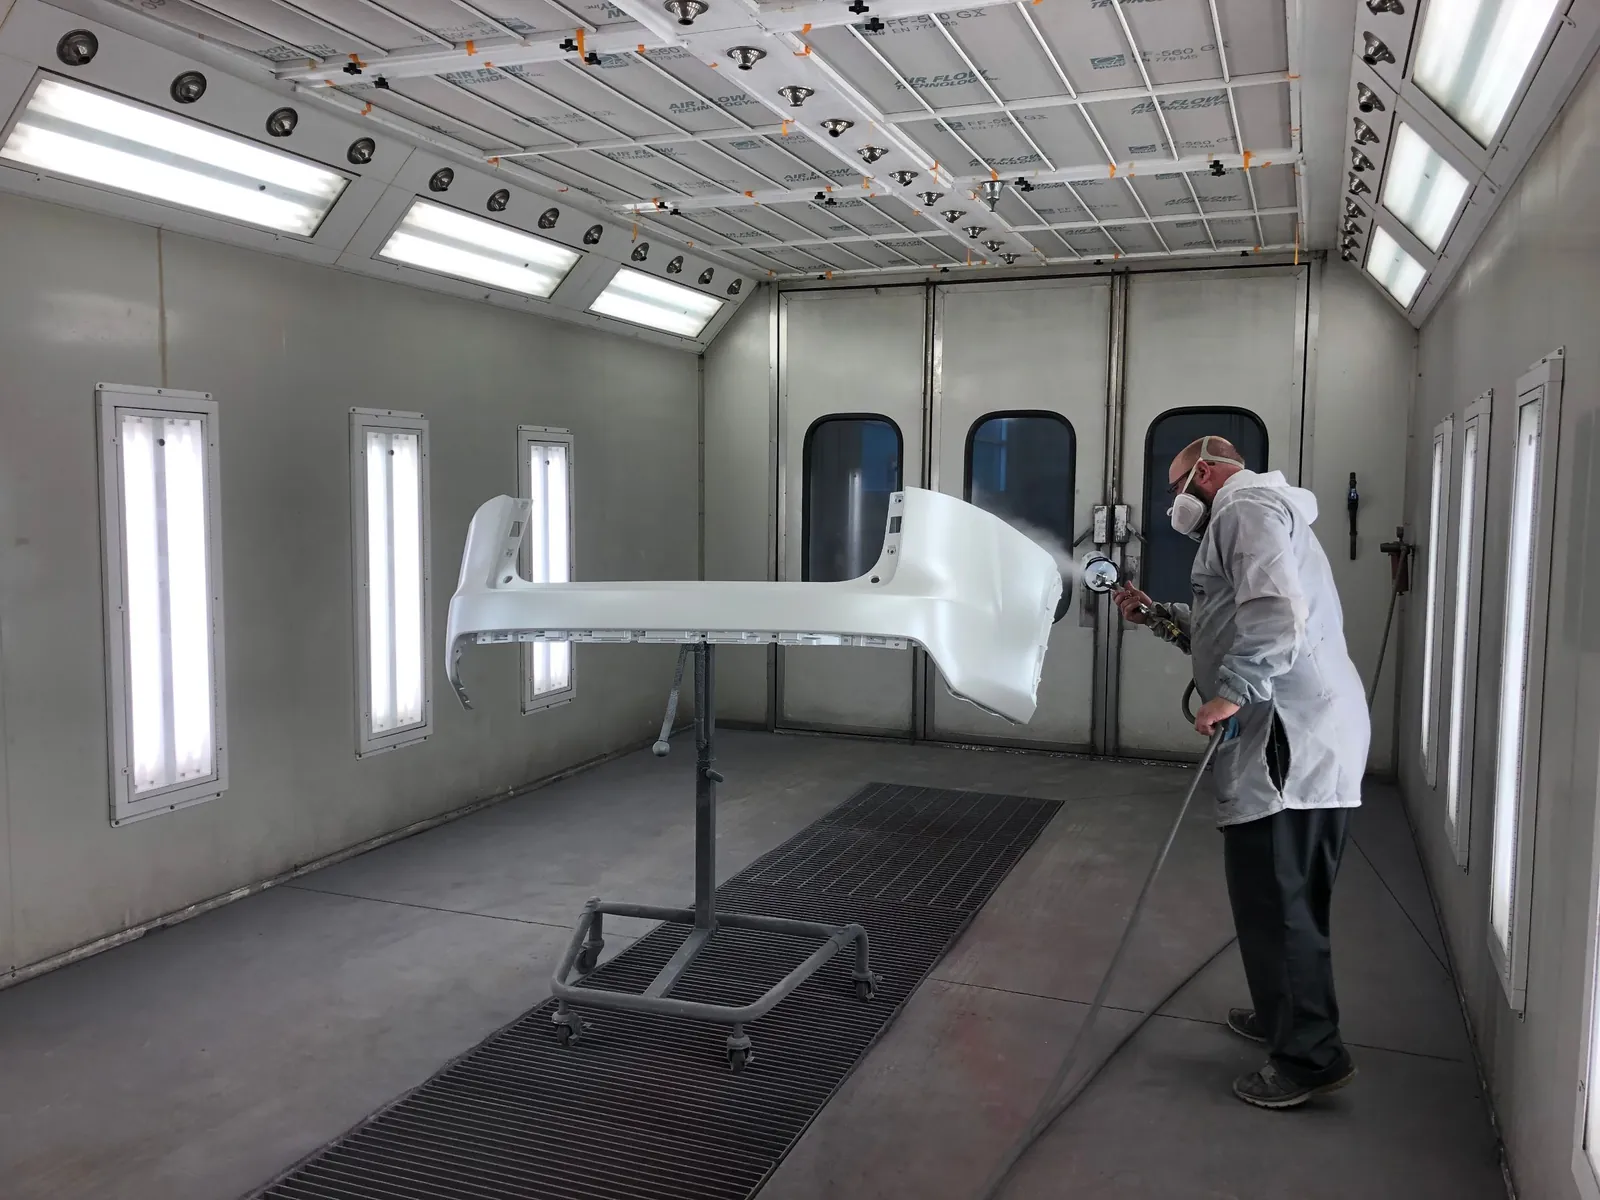
Paint work is part of many repairs. The damaged area may need cleaning, feathering, primer, color matching, base coat, and clear coat. Blending into nearby areas may be recommended when it helps the color and finish look consistent.
Repairing the original part can reduce material use and avoid waiting for a new cover. It can also lower repair costs when disassembly, internal components, and calibration needs are limited. The decision still depends on whether the result will hold up and fit correctly.
Signs that bumper repair may be suitable include:
- Surface damage: scuffs, paint transfer, scratches, or shallow gouges
- Minor shape changes: a small dent or localized distortion without stretched plastic
- Limited cracking: a short crack in an area the manufacturer allows to be repaired
- Secure fit: intact tabs, retainers, brackets, and attachment points
- No deeper concerns: no confirmed damage to the absorber, reinforcement, wiring, or nearby panels
A cracked bumper is not automatically repairable or unrepairable. Location matters. A crack beside a sensor mount or at a torn edge may be a poor candidate even when it looks small. The technician needs to judge strength, access, finish quality, and the ability to keep attached equipment in the correct position.
When Bumper Replacement Is the Better Choice
Bumper replacement is usually recommended when the cover has lost too much material, cannot hold its intended shape, or no longer attaches securely. Large splits, widespread cracking, torn tabs, and severe deformation can make a lasting repair difficult.
Replacement may also be required when the impact affects a sensor mounting area. Parking sensors and radar units need to sit at precise positions and angles. If the surrounding plastic or bracket cannot support that position, repairing the visible crack alone does not solve the functional problem.
Damage behind the cover changes the job too. A crushed absorber, bent reinforcement, broken brackets, damaged wiring, or structural damage may require separate parts and procedures. Replacing the outer cover does not correct those issues by itself, so the estimate should list each affected component.
The table provides a quick comparison. It is a starting point, not a substitute for an inspection.
| Condition | Repair may fit | Replacement may fit |
|---|---|---|
| Surface and paint | Scuffs, light gouges, or limited paint damage | Deep loss of material or damage spread across the cover |
| Cracks and shape | Short, accessible crack or shallow distortion | Large split, severe deformation, or repeated cracking |
| Mounting points | Tabs and attachment areas remain secure | Tabs, edges, retainers, or sensor mounts are torn |
| Behind the cover | Absorber, reinforcement, wiring, and brackets check out | Internal or nearby components need separate work |
| Fit and function | Correct gaps and sensor position can be restored | Secure fit or required sensor position cannot be restored |
The right choice depends on the full inspection and the repair procedures for the specific vehicle.
Part choice can affect the plan. A replacement may be new original equipment, aftermarket, or recycled when appropriate and allowed. Availability, fit, included openings, and insurer rules can all matter. The shop should explain which part is listed and whether attached trim or hardware is included.
A new cover normally arrives unpainted. It still needs preparation, test fitting, color matching, paint, reassembly, and quality checks. If driver-assistance equipment is disturbed, scanning or sensor recalibration may also be required after installation.
Repair Costs, Insurance, and Sensor Work
There is no useful flat price for every bumper job. Costs depend on the damage, labor, paint work, part choice, vehicle design, and the components behind the cover. Two cars with similar-looking scrapes can need different work once they are inspected.
A repair may cost less when the cover stays on the vehicle, the damage is easy to reach, and the finish can be restored with limited materials. Replacement costs can rise with the price of the cover, removal and installation time, trim transfers, refinishing, scans, alignment checks, and calibration.
Parts availability can affect both price and schedule. A cover for an older or less common model may be difficult to source. A late-model unit may need the correct holes or brackets for parking sensors, radar, cameras, lamps, or tow equipment. Ordering the wrong configuration can delay the job.
If the collision is covered, the shop can document the damage and communicate with the insurance company. The deductible and coverage terms come from the policy. If added concerns appear after disassembly, the shop may submit a supplement for insurer review.
For a small cosmetic issue, compare the written estimate with the deductible before deciding whether to file a claim. Ask the insurer how a claim may apply to your policy. The body shop can explain the work, but it does not decide coverage.
Sensor work should appear clearly in the estimate when it is required. Depending on the model and the repair procedure, the job may include a pre-repair scan, a post-repair scan, aiming, static or dynamic calibration, or a road test. Those steps support correct operation after the car is reassembled.
What Happens During a Bumper Inspection and Repair
A good estimate starts with the impact story. Tell the estimator where the vehicle was hit, whether warning lights appeared, and whether parking or driver-assistance features changed. Mention water leaks, rattles, loose trim, or a hood, trunk, or liftgate that no longer closes normally.
The shop can then follow a practical inspection and repair process:
- Review the visible damage, panel gaps, lamps, trim, fasteners, and sensor areas.
- Scan the vehicle or test affected features when the impact or manufacturer information calls for it.
- Remove the cover when access is needed to inspect the absorber, reinforcement, brackets, wiring, and nearby body structure.
- Confirm the repair method or replacement part and prepare a written estimate.
- Complete plastic work, parts installation, paint, reassembly, and any required calibration.
- Check fit, finish, warning lights, sensor operation, and cleanliness before delivery.
Ask the shop to show you what it found behind the cover. Photos can make a revised repair plan much easier to understand. You should also know whether the estimate includes paint materials, clips, moldings, scans, calibration, and work on adjacent panels.
Timing depends on the chosen method. A simple cosmetic repair may move quickly, while replacement can wait on parts or insurer approval. Calibration, alignment, or work by another specialist can add scheduling time. A clear update should separate hands-on repair time from outside delays.
Before pickup, look at the panel gaps and paint match in normal lighting. Confirm that parking sensors, warning messages, lights, and other affected features work as expected. If anything feels loose or looks misaligned, raise it before leaving the shop.
Get a Clear Bumper Recommendation in Omaha
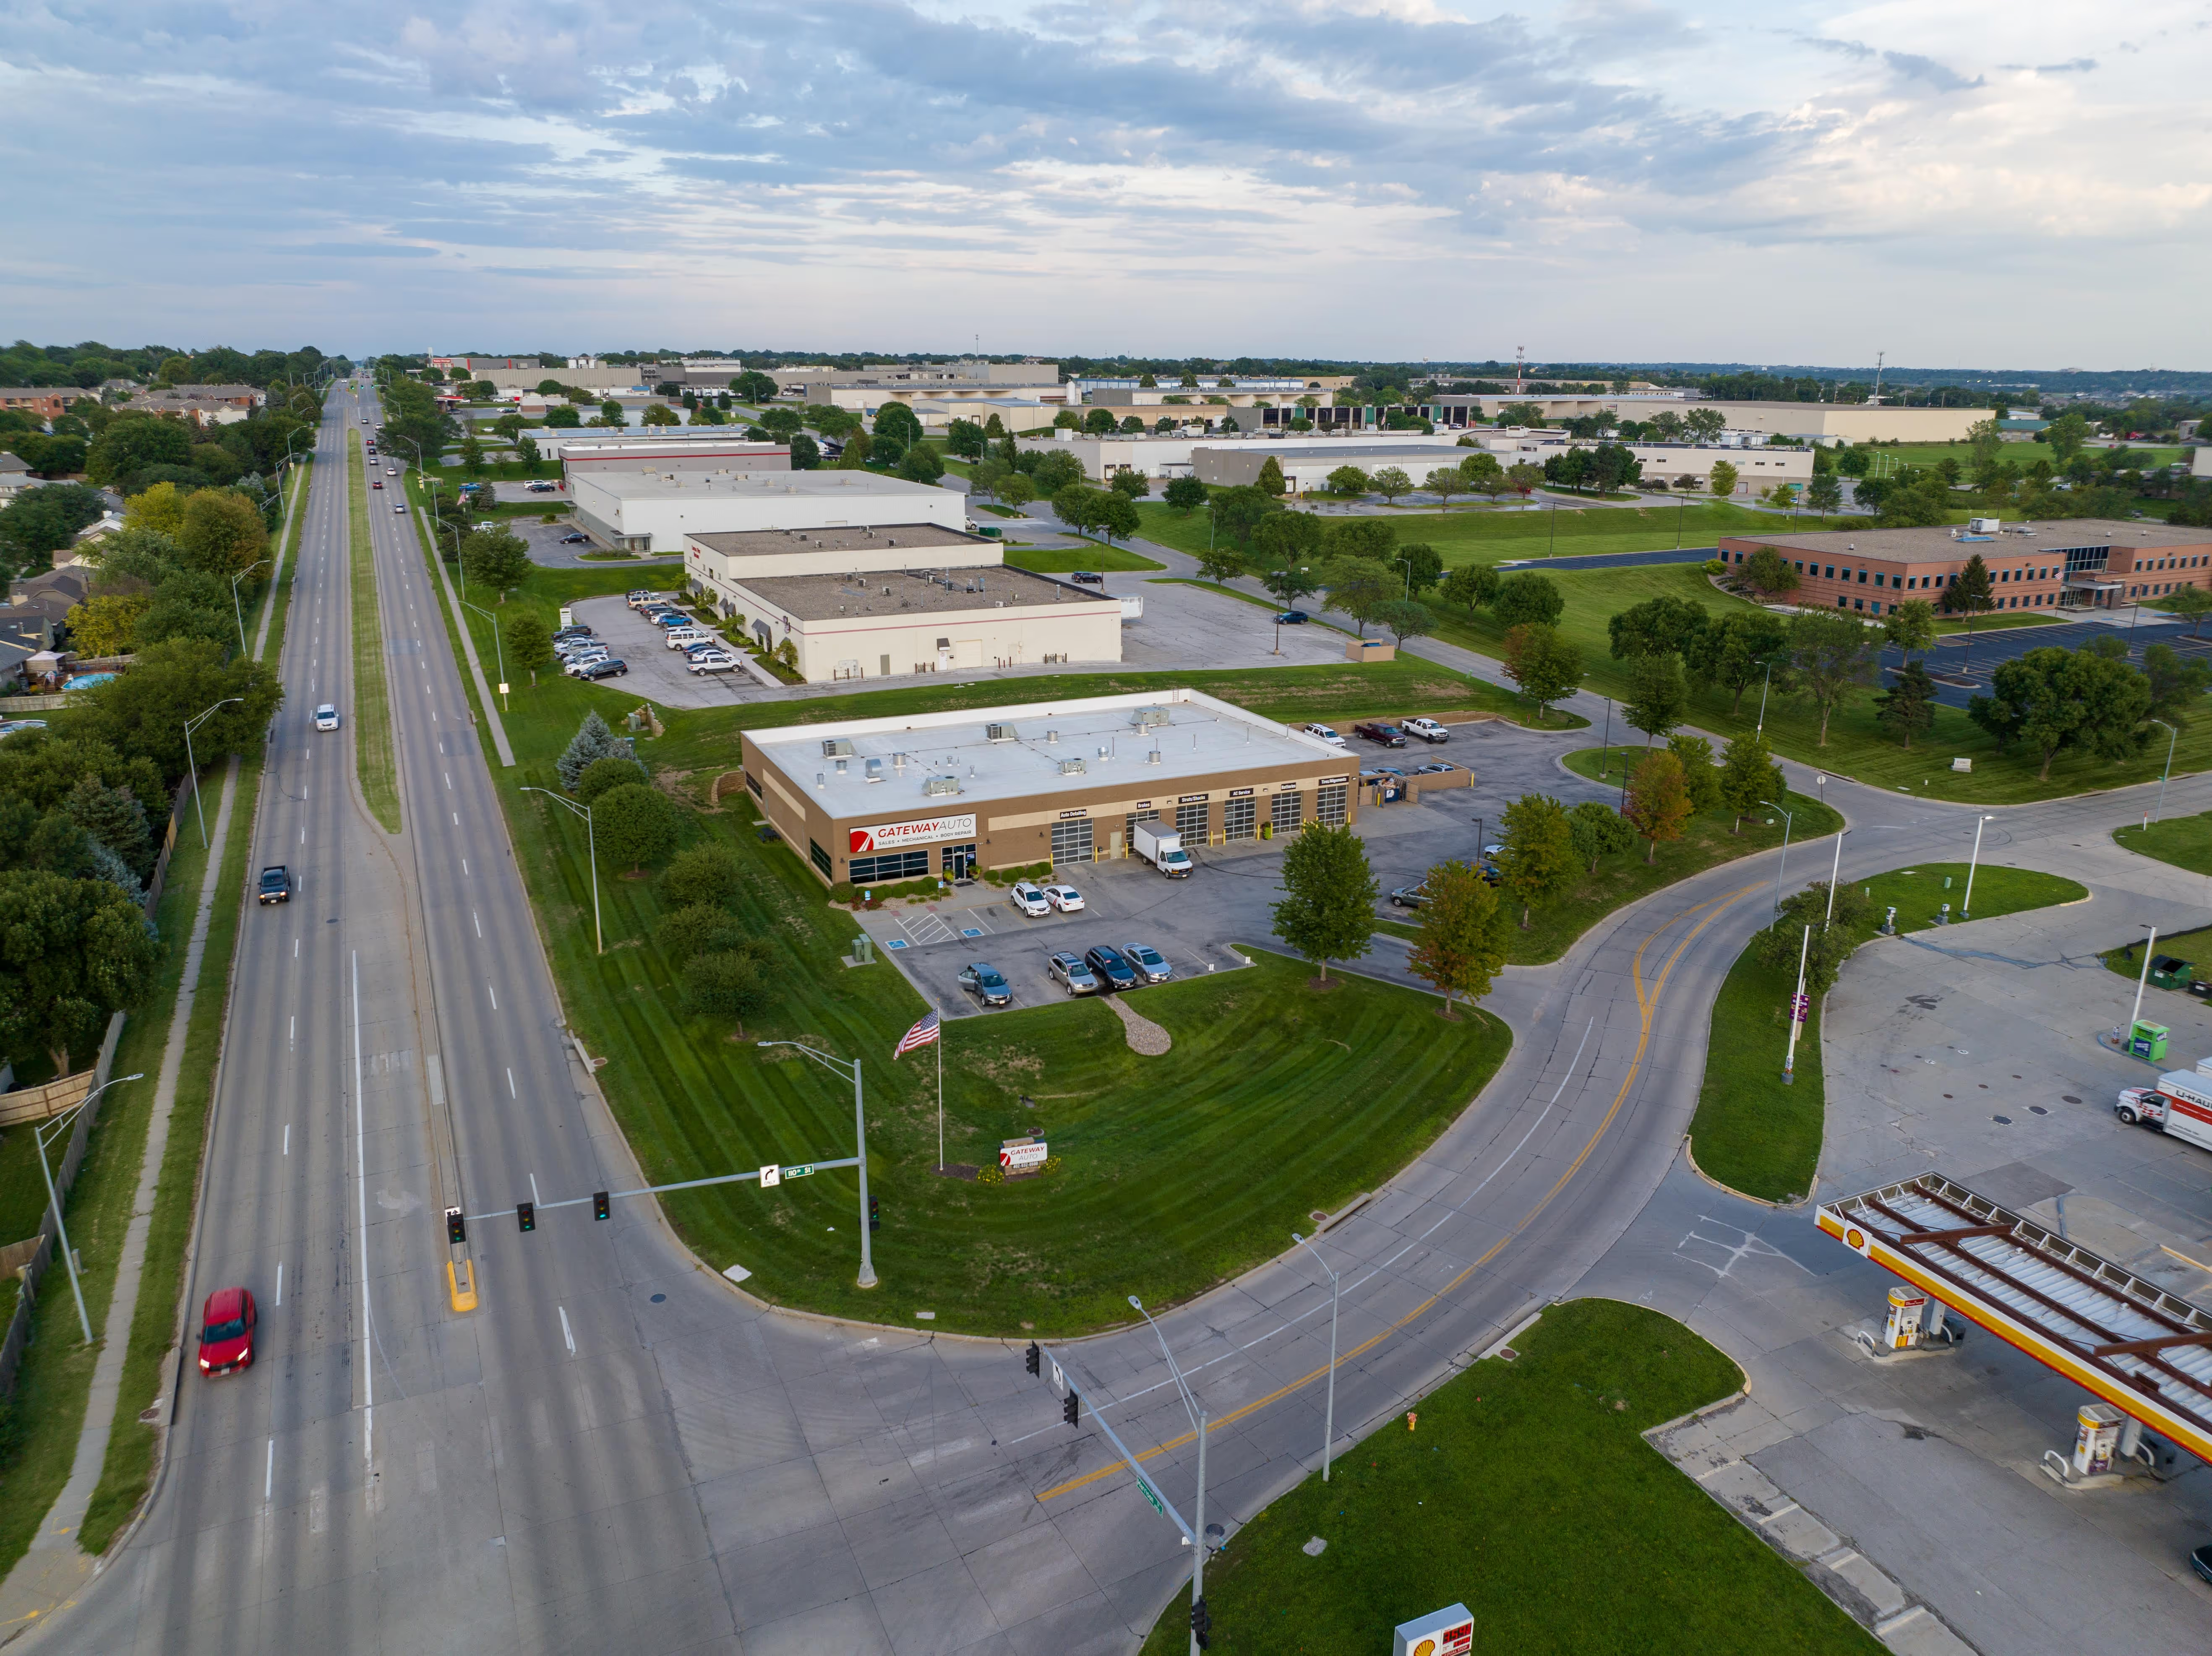
Gateway Auto has served Omaha-area drivers since 2002 and handles collision work at its Service & Collision Center in La Vista. Its I-CAR Gold Class team can inspect the cover, check related parts and sensor areas, and explain whether repair or replacement fits the damage found.
You will receive a straightforward recommendation based on the vehicle, the impact, and the work needed for proper fit and function. If insurance is involved, Gateway Auto can document the loss and coordinate repair information with the carrier.
Request a free body repair estimate online or contact Gateway Auto to schedule an inspection. Bring any insurer estimate, claim number, photos, or warning-light information you have. The team can review the options and help you choose the next step with a clear understanding of the work.